


Filed under: Recipes > Light Meals & Snacks
Previous in ToC: Hummus Wrap with Homemade Pita Bread
Next in ToC: Doubledecker Vegan Tostadas with Refried Black Beans
Tags: sushi, maki, Japanese, rice, nori, cucumber, daikon

Making Maki at Home
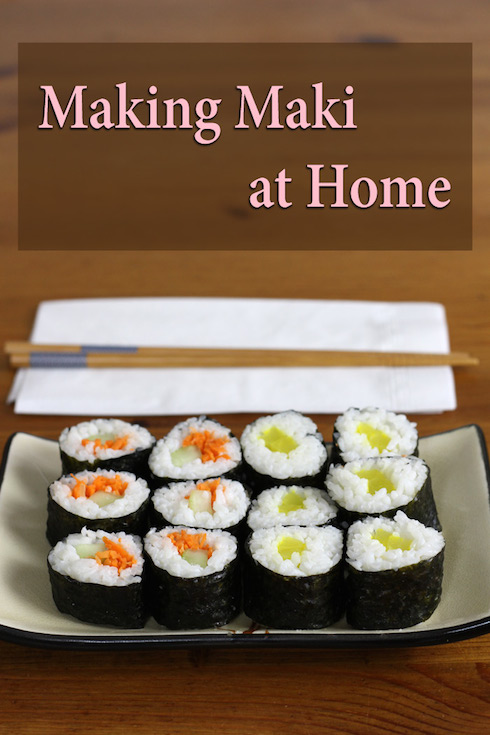
The temptation to make maki sushi rolls at home springs mostly from the lack of food for vegetarians at most Japanese restaurants. Most have vegetarian bento boxes with some avocado rolls, but those usually leave me feeling a little ripped-off. When you're making everything yourself, you can skip the things you don't like (never been a fan of deep-fried tofu) and emphasize the things you love (e.g., broccoli tempura). This idea has led to lots of experimenting in my kitchen lately. Maki sushi is an absolute necessity for any of these imaginary Japanese feasts, so I thought I would nail it down first.
Ingredients
1 1/2 cups Calrose rice
2 1/4 cups water
3 Tbl rice vinegar
2 tsp sugar
1/2 tsp salt
5 sheets of nori
desired vegetable fillings e.g., cucumber, carrot, avocado, asparagus, pickled daikon (see below).
Directions
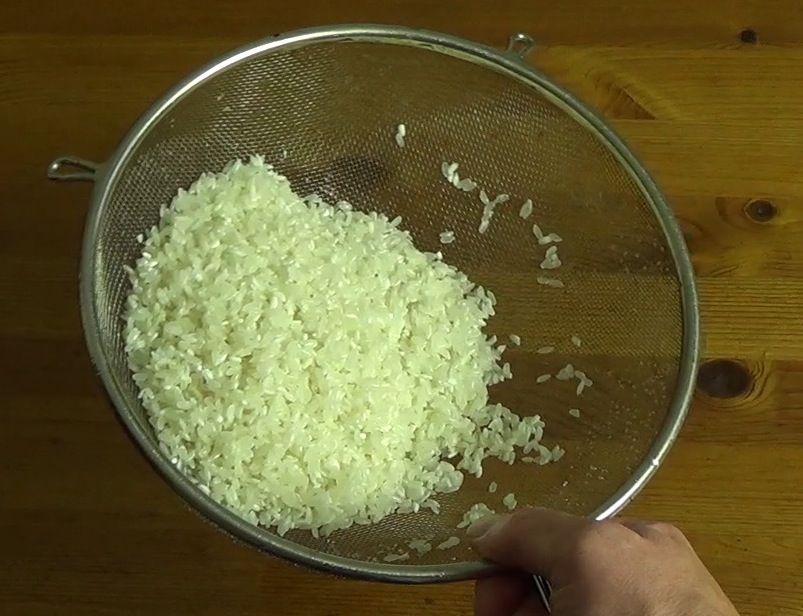
Calrose rice is a beautiful short-grained rice, great for sushi. It is fairly easy to find in western grocery stores.
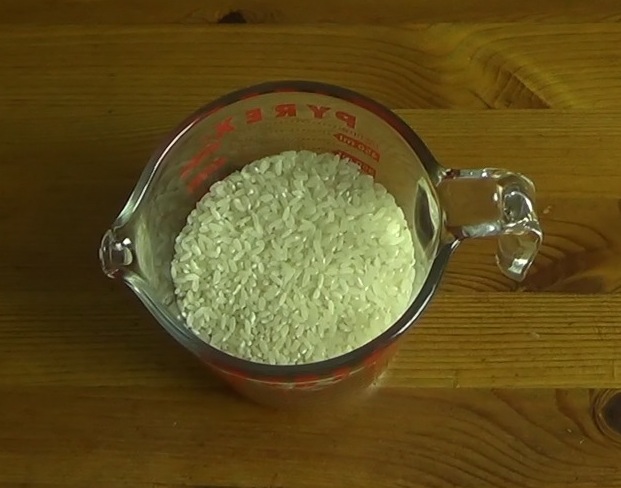
Rinse the rice in a mesh strainer with a large bowl of water underneath, and rinse/soak until the water is pretty much clear. It usually takes me 5-6 bowlfulls until the water starts clearing up.
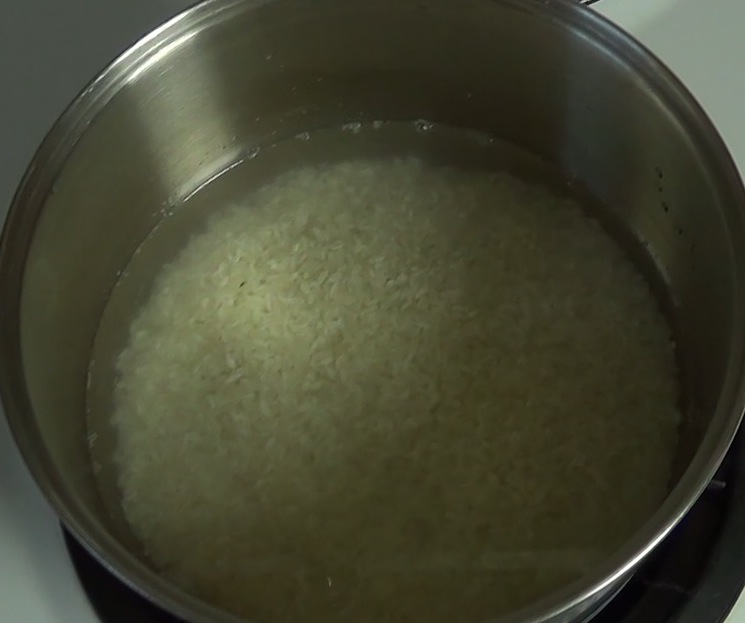
Put the rice on to boil. When it boils, reduce the heat to simmer, cover and let cook 20 minutes.
While the rice is cooking, mix the rice vinegar, sugar and salt together in a mixing cup. Swirl it every so often to help the sugar and salt dissolve.
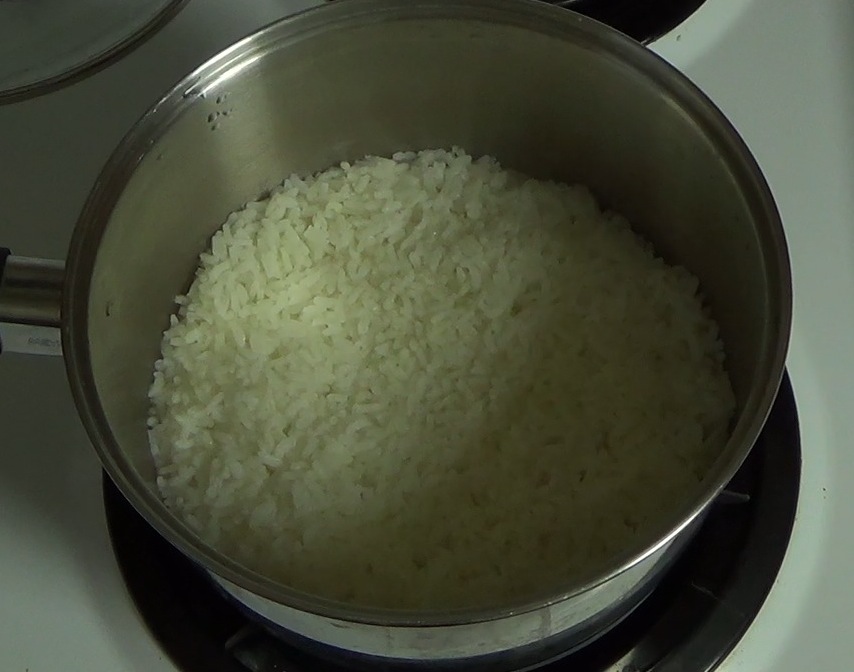
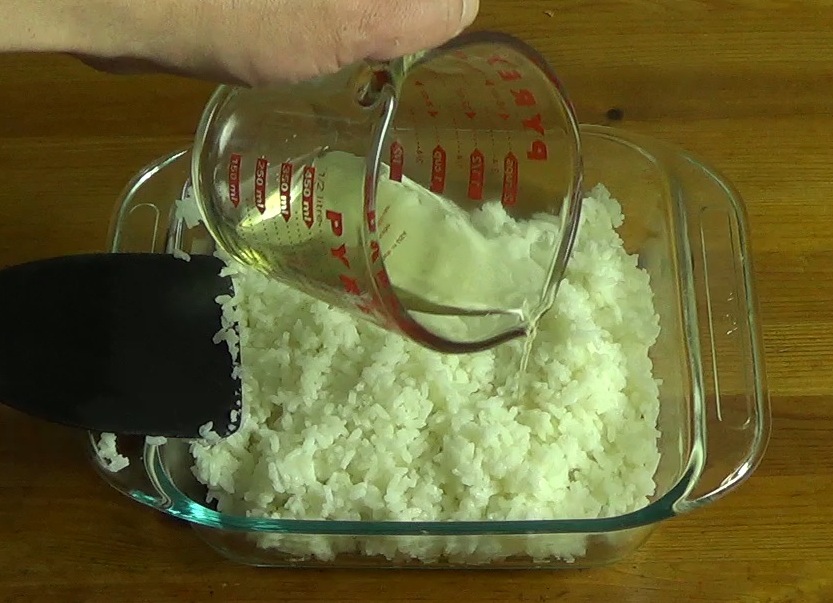
Take the rice off the heat, stir, re-cover and let rest another 5 minutes. Then, transfer the rice to a large, glass (not metal) baking dish.
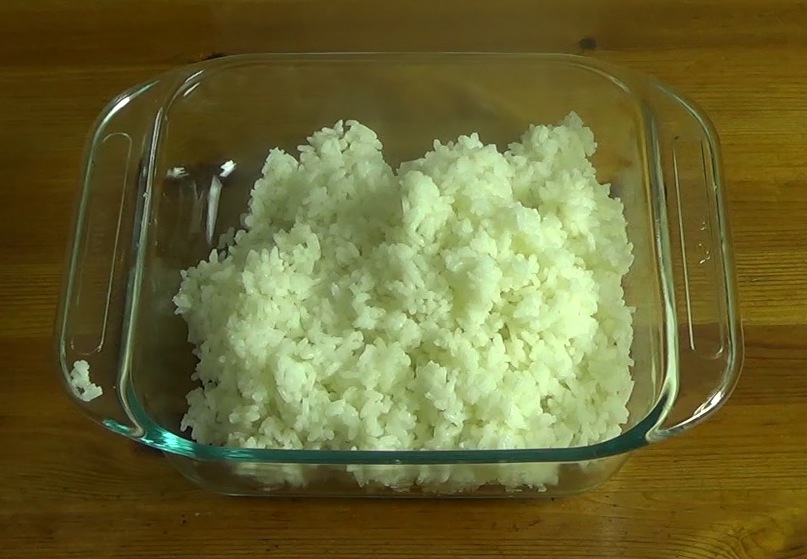
Add a small amount of the vinegar/sugar mixture. Use a thin plastic spatula to break the grains apart and fold them over. Fan the rice to help it cool. Repeat until the vinegar is gone.

Cover the rice with a moist tea towel. Do not refrigerate.
There is enough rice for 4-5 maki rolls. Each roll produces 6 pieces of sushi. You don't need to prepare a whole lot of filling for this amount of sushi, but there are worse problems than having leftover fresh vegetables to snack on. It's probably good to make more than one kind so you get some variety in flavours and textures on the plate. I made a cucumber/carrot roll and a pickled daikon roll.
Pickled daikon radish is delicious. It tastes a little like sweet pickle, but it has more tanginess. I found it in the refrigerated section of a large Asian grocery store. It has a distinctive highlighter yellow colour, so it's pretty hard to miss.
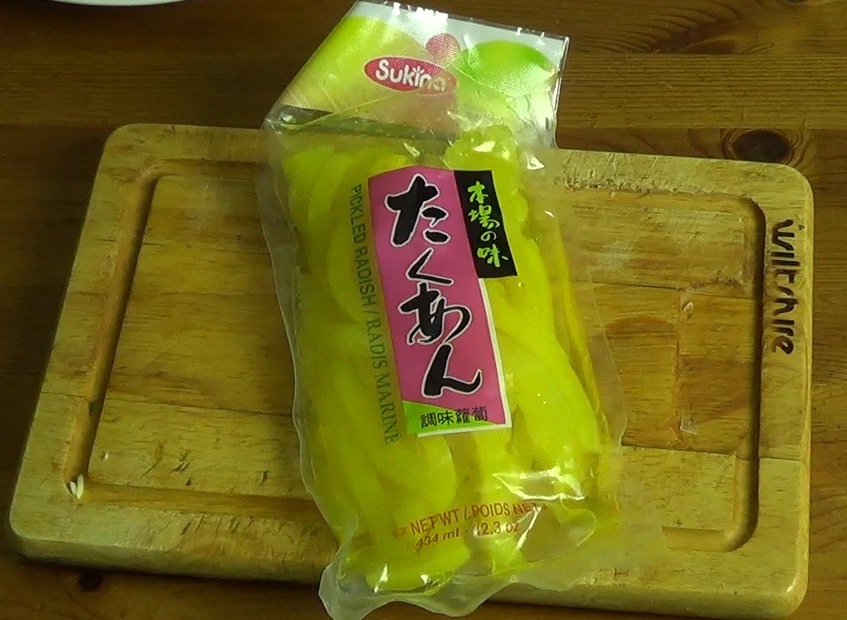

It was presliced in 8 inch long, 1/4" square pieces that seem to be made for sushi. So not much prep work to do there. I put two pieces of daikon in each roll.
Of course, the cucumber and carrot doesn't come in such readymade sushi shapes and sizes, so a little cutting is required. Carrot is best in small shreds. And small shreds of carrot are easiest to produce with a mandoline.
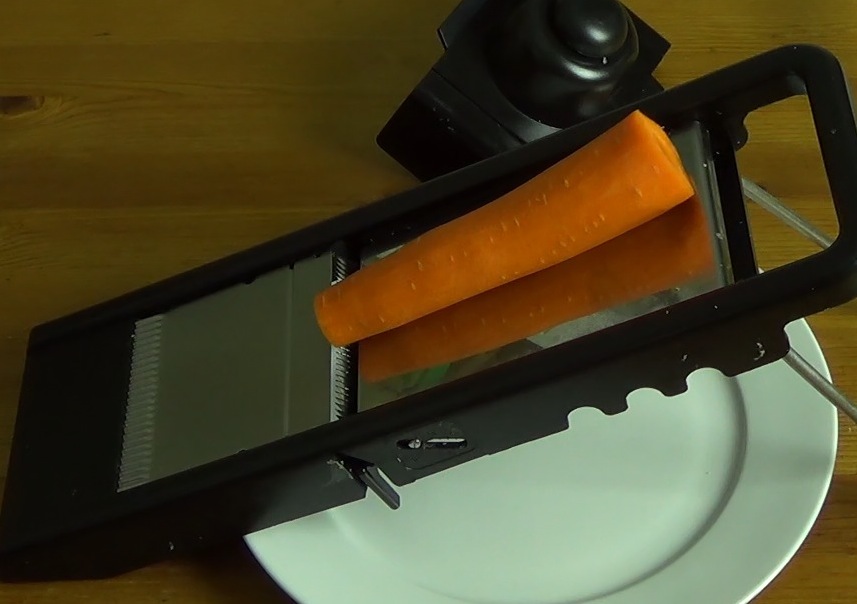

Try to keep the carrot shreds aligned in the same direction so you can place them lengthwise in the sushi.
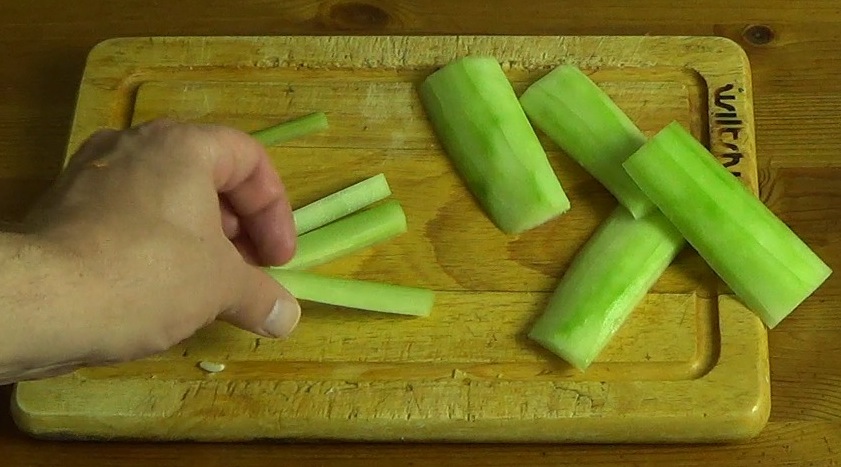
Getting the cucumber ready is easy, but there are a couple of little tricks. First, roughly peel the cucumber and cut it into 4 inch sections.
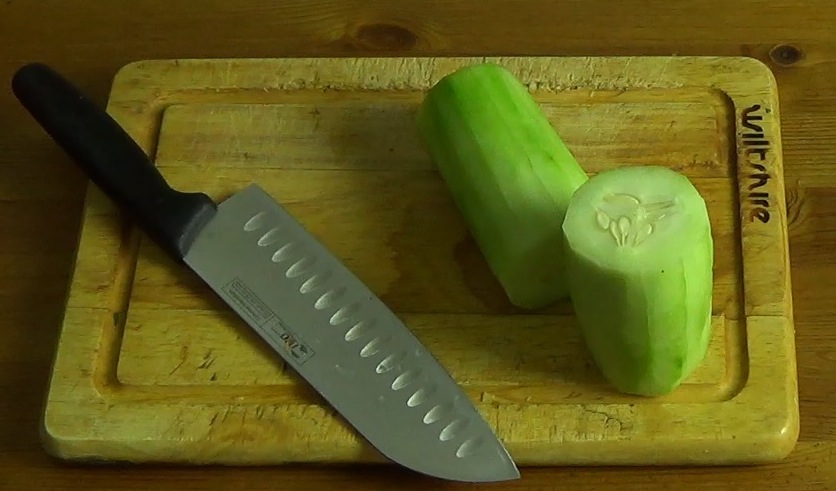
Stand a piece of cucumber up lengthwise and slice downward, being careful to take only the outside flesh and avoid the seeds in the core. Eat the core as a snack or toss it, but try not to get any seeds in your sushi.
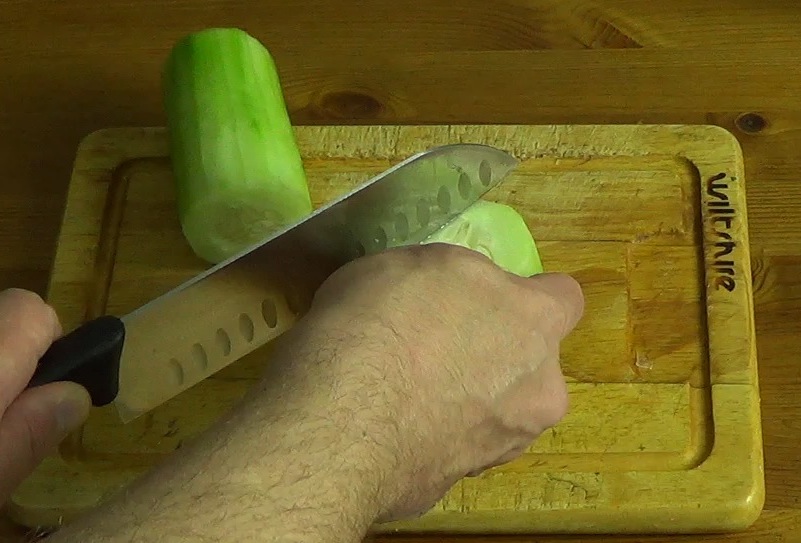
Slice these fleshy sections into 1/4 inch widths. You want them to be thick enough to hold their own in the center of the sushi.

Now that the preliminaries are out of the way, it's time to make some sushi. Your rolling effort will be helped immensely by a small bamboo or plastic mat, available in most Asian houseware stores. Kitchen supply stores and larger department store chains have started carrying them too.

The nori should be a little less than 6 inches long and 8 inches wide. It's usually longer than 6 inches, so you'll have to trim it down. You'll see guidelines etched into the nori at regular intervals. Find the right one to give you the required 6 inches or so and fold the nori back and forth along that line to make it easier to tear. Prepare 5 pieces of nori this way.
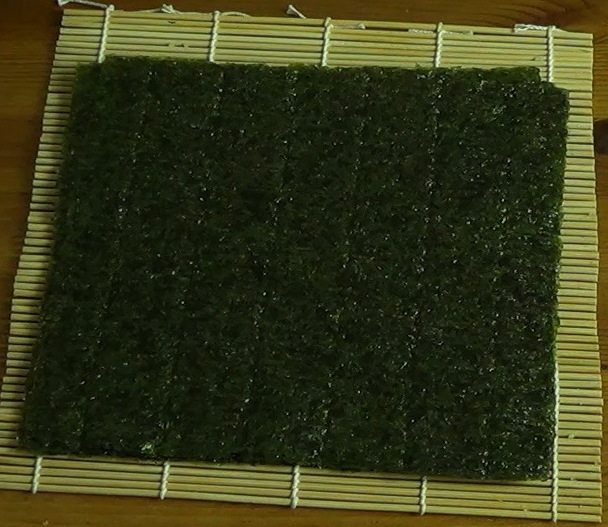
Nori will have a shiny side and a fuzzy side. The fuzzy side goes up, the smooth shiny side against the mat.

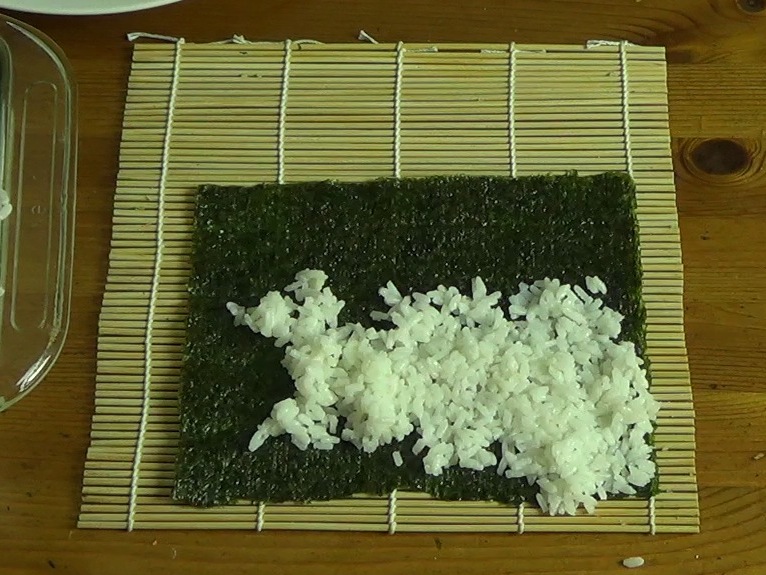
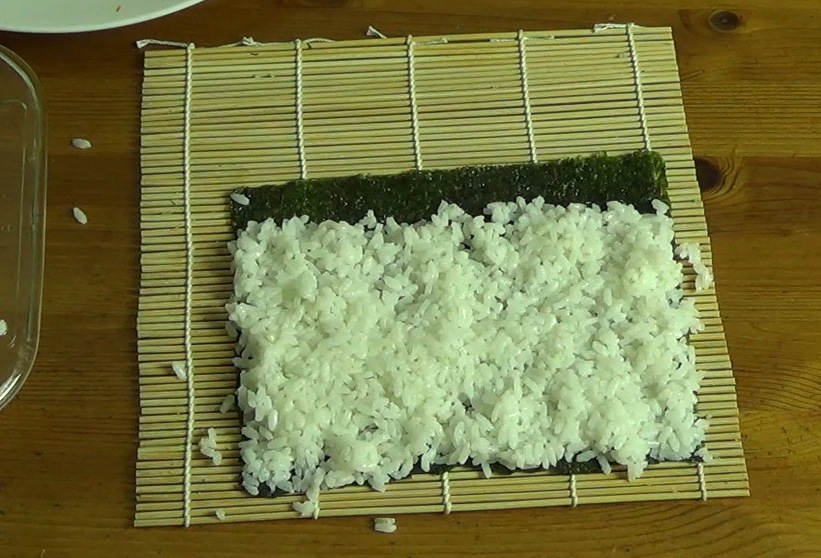
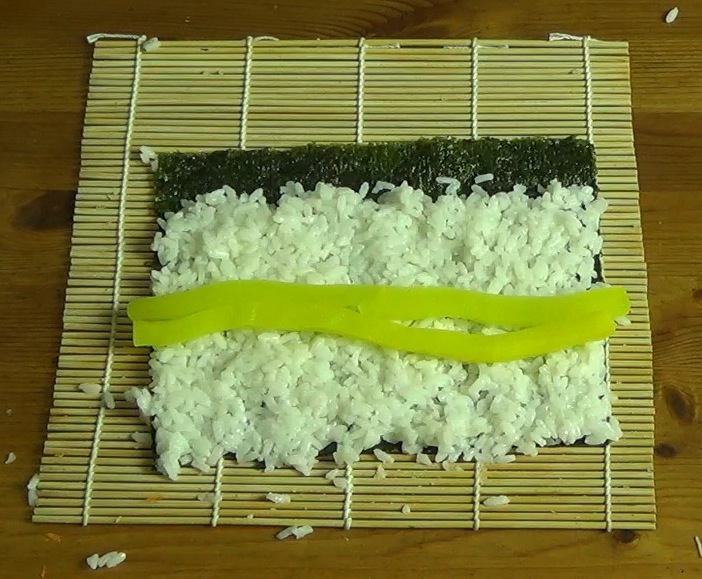
When placing the rice on the nori, the idea is to have a uniform, flat layer about 1/4 inch thick. The rice should be compact, but not mashed. The rice should cover all of the nori, except an inch or so at the very top. That bare section will stick to the back side of the roll and hold it together.
Before starting to put the rice on the nori, place a largish bowl of water beside the mat. Dip your fingers in the water every so often because they will get sticky as you handle the rice. Place small handfuls of rice on the nori, spreading from the center outward with your fingertips. You can use small fingerfulls to patch any bare areas.
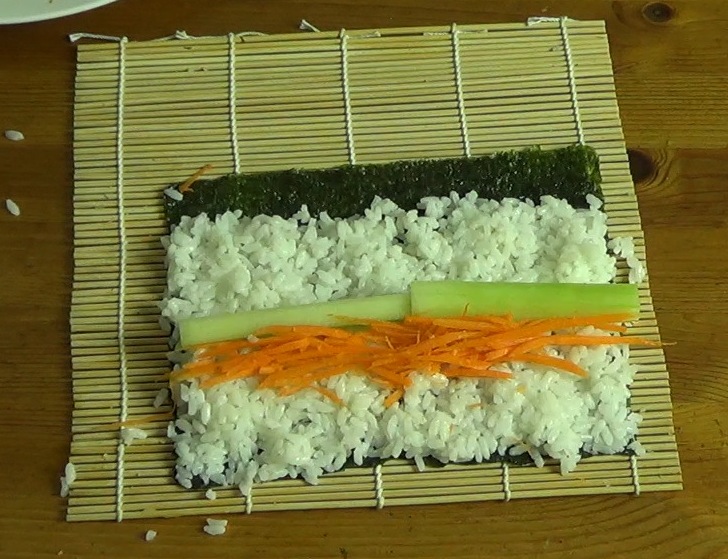
Lay a strip of cucumber, one or two pieces wide, along the width of the nori and spread the carrot along the side of the cucumber closest to you.
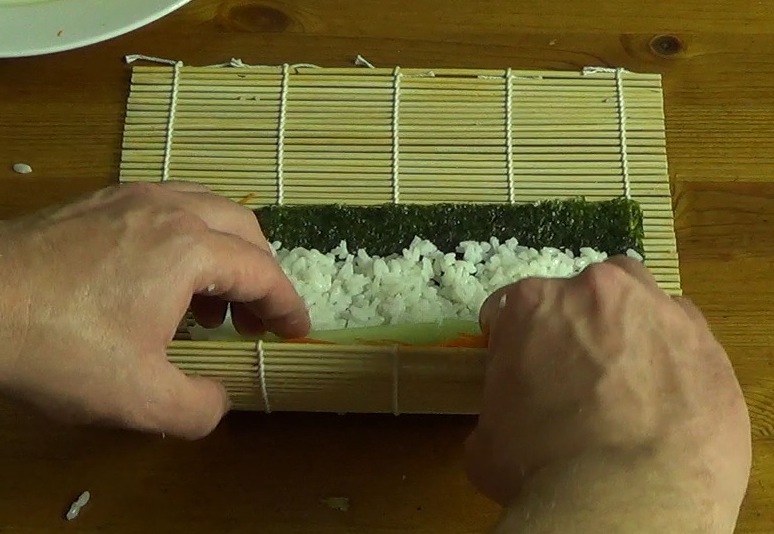
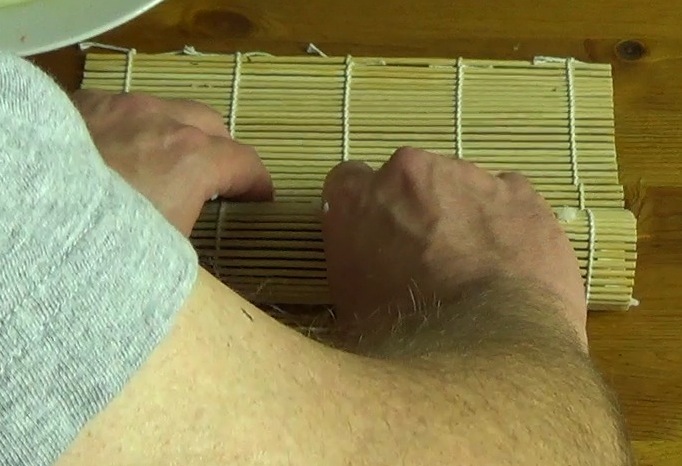
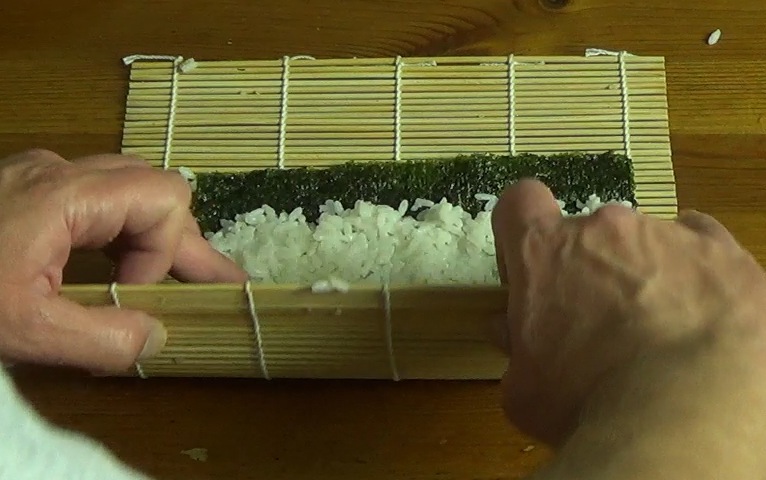
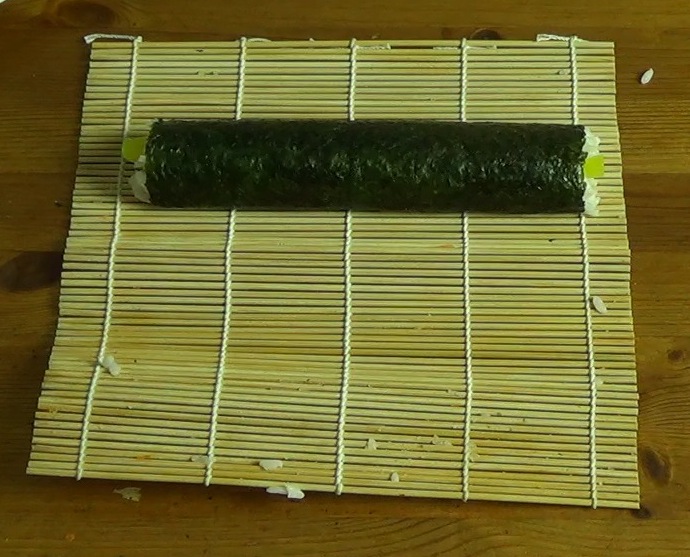
Rolling is still a bit of a tricky skill, but it has 3 steps: (1) get the edge of the nori closest to you over to the opposite side, (2) use the mat to tighten the roll by pulling toward you, and (3) finish the roll by rolling over the edge of the nori with no rice on it and shape the roll with the mat.

Finally, get a sharp knife and a damp cloth. Slice the sloppy ends off the roll (unless you've laid it out perfectly, in which case my hat is off to you). Then slice the roll in half and slice each half into 3 pieces. Use long, slow slices through the rice and fillings, and make sure you get all the way through the nori on the bottom.

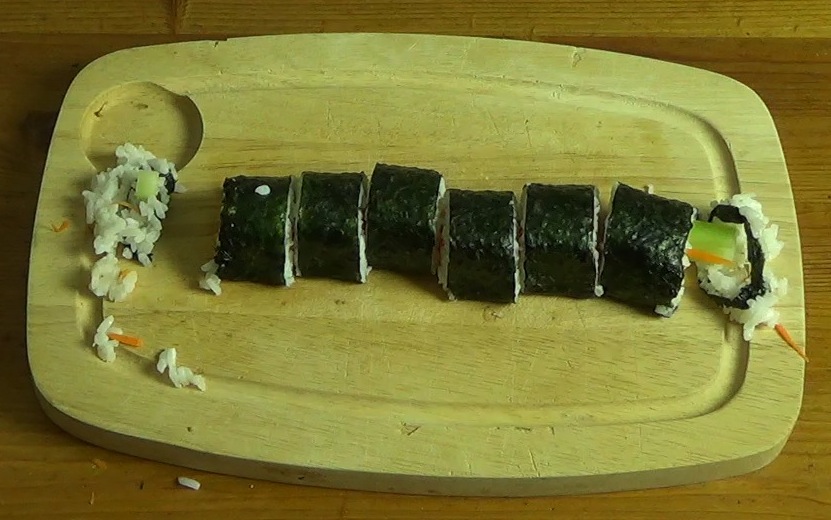
Repeat the process for the daikon.
Soy sauce is a personal choice and there are a whole lot to choose from. Right now I'm kind of partial to Yamasa low sodium.
That's it! It will keep for about a day in the fridge, but it's best when fresh.

Want more like this? Please subscribe via the RSS Feed so you can read new posts on your favourite news reader.
Posted: Thursday, November 5, 2015