Filed under: Recipes > Light Meals & Snacks
Previous in ToC: Vegan Sausage that Fills a Hot Dog Bun Nicely
Next in ToC: Vegan Tofu Sliders with Tangy Purple Coleslaw
Tags: Chinese, bun, onion, bread, aquafaba

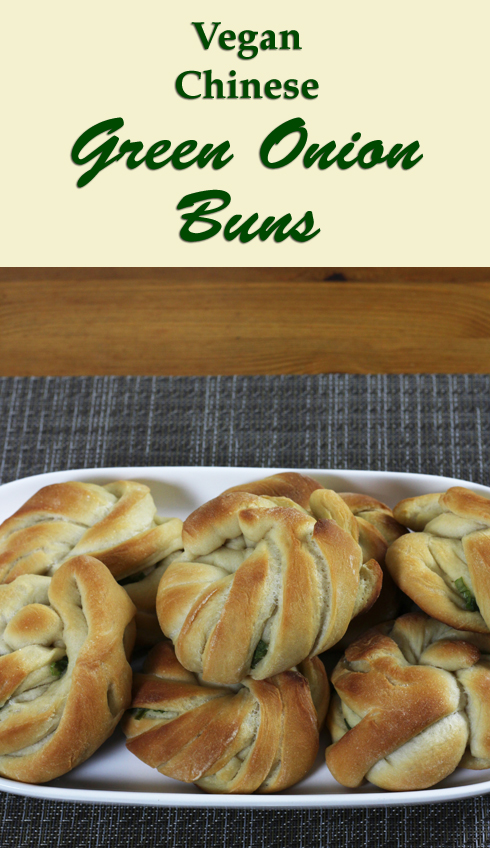
Vegan Chinese Green Onion Buns
If you've ever even gone past the doorway of a decent Chinese bakery, I think you are already familiar with the intoxicating aromas of slightly sweet dough combined with rich, savory fillings. I have a horrible addiction to these smells and flavours, left over from my student days living in downtown Toronto. As always, the challenge is to find a way to replicate the experience with vegan ingredients. I'm happy to say that smart people have already tackled this question and come up with some great ideas.
Mary's Test Kitchen is an excellent example. Her vegan recipes and tutorials are even backed up with detailed youtube videos. In 2015, she posted a recipe for vegan beef curry buns, a feat that I thought could never be attempted let alone accomplished. These are on my list to try, but my focus for today is the ubitquitous green onion bun. Like the beef curry bun, green onion buns are a staple at Chinese bakeries. Known as "hua juan" or 花卷 (literally, flower twist), they combine a delicate, slightly sweet bun with scallion slices soaked in sesame oil. If you've ever had a one of these beauties after a long morning exploring your city, you know why they belong in your kitchen repetoire.Unfortunately, a soft, pliable dough with a dense texture usually relies on milk and/or eggs for those qualities. I want all the soft sweetness, but vegan. That's where Mary's milk bread recipe comes in. Instead of six rounds of trial and error, I made this dough literally once and was instantly satisfied. It has exactly the soft texture I was looking for and just the right amount of sweetness. It's a perfect base for future Chinese baking experiments. Thanks Mary!
After finding the dough I wanted to use, I needed some help with technique for making the buns themselves. Green onion buns have a unique braided shape, with thin strands of dough forming a delicate base for the onion mixture. For help with this, I turned to a detailed hua juan recipe from The Cooking of Joy. (Aside: a lot of the recipes you see online steam the buns instead of baking them, which I will definitely try someday, but I've only ever had them baked, and of course the bun doesn't care if you bake it or steam it.) Joy's recipe includes a very straightforward video explaining the shaping technique, which again saved me hours of trial and error. Thanks Joy!
Ingredients
Dough
I won't try to duplicate Mary's excellent dough recipe here. I'll just say that I used soy milk as she suggested, 1 Tbl of refined coconut oil for fat, and 3 Tbl of aquafaba (leftover liquid from a can of chickpeas) as an egg replacer. Check out Mary's recipe and video for details.
Filling
3 Tbl green onion greens, finely sliced
1 Tbl sesame oil
1/2 tsp salt
1/4 tsp sugar
Maple Wash for Brushing Tops
1 Tbl maple syrup
2 Tbl water
Directions
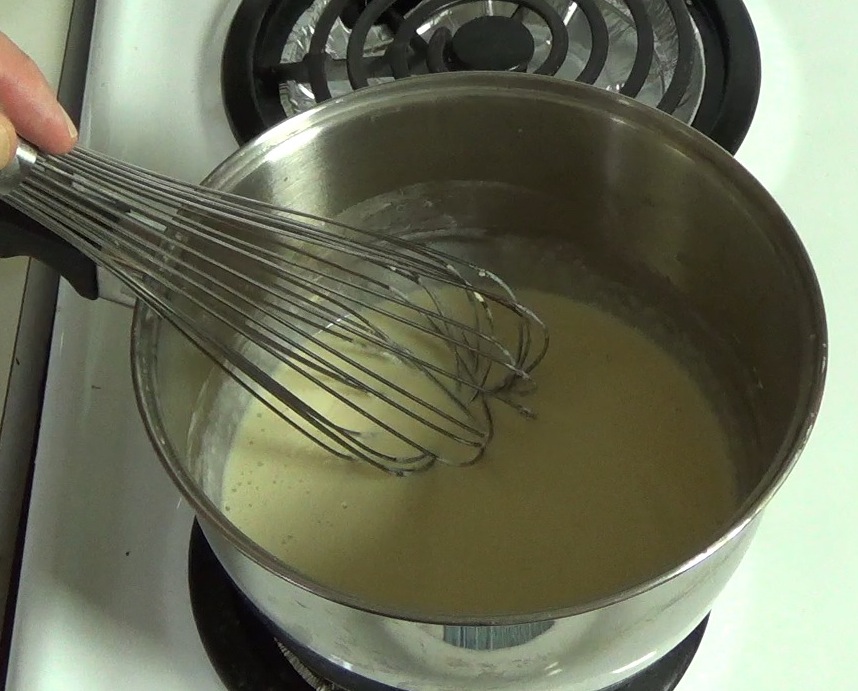
The dough starts off with a roux of sorts, combining soy milk with flour, whisking constantly while raising the temperature to 149°F over medium-low heat.
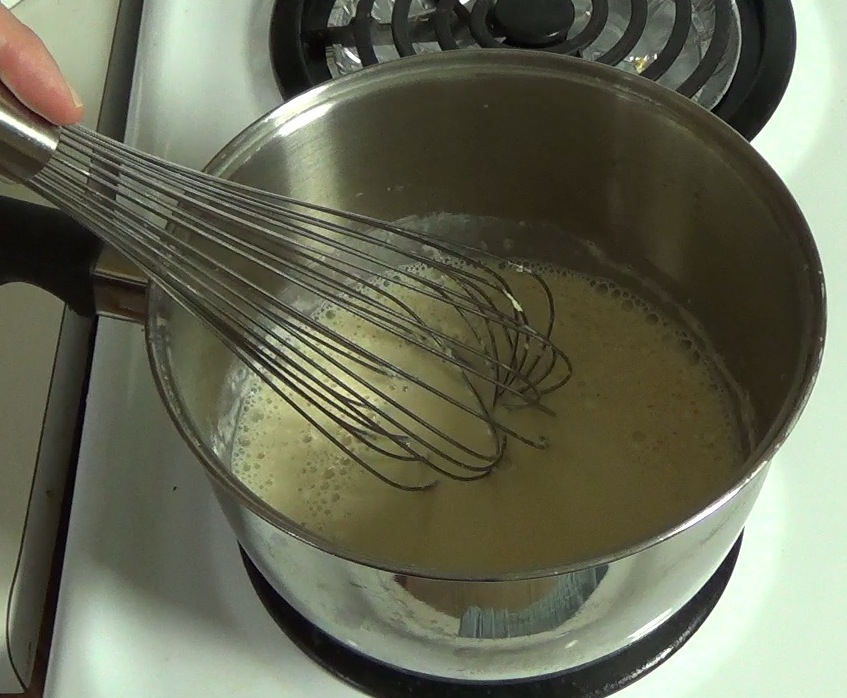
As the temperature gets close to the target, the mixture thickens and gets shiny.
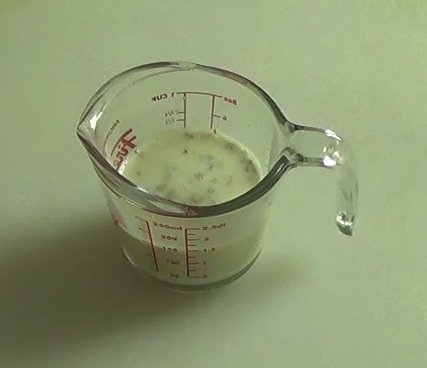
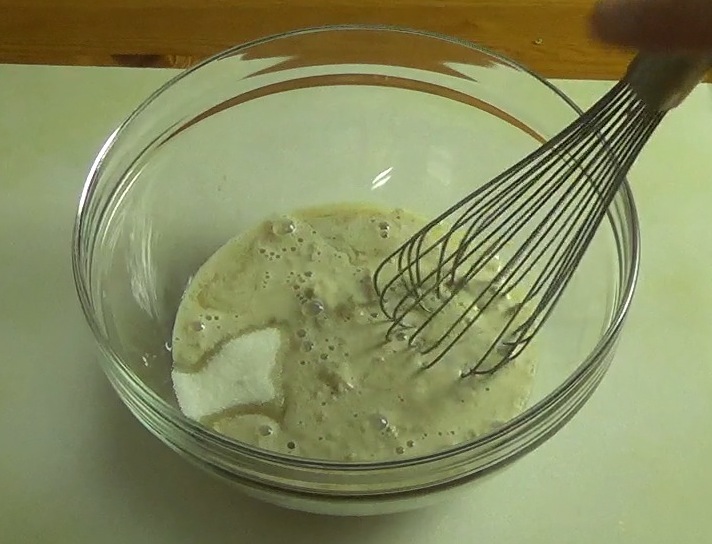
While the roux cools a bit, you wake up the yeast in more soy milk with some sugar.

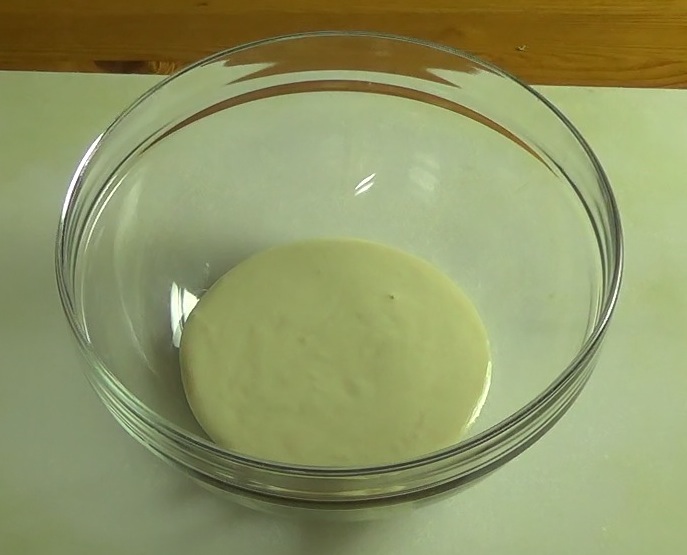
Here's the cooled roux in a large mixing bowl.
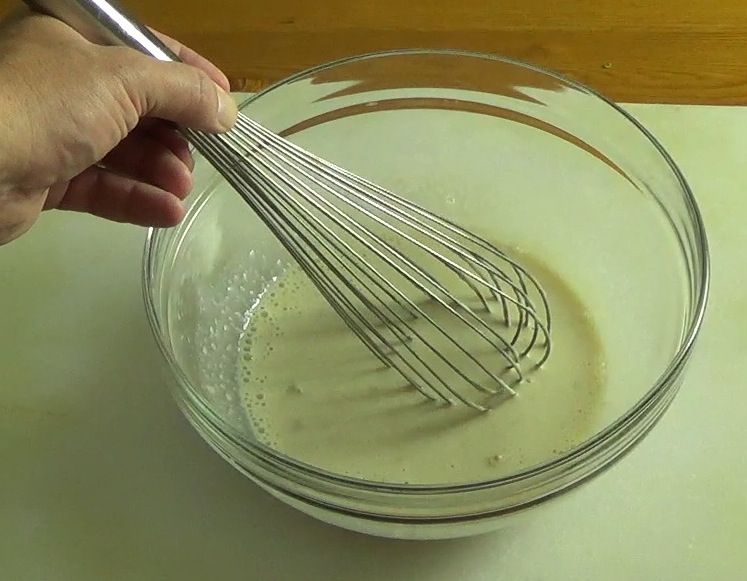
The roux gets combined with the yeast mixture and the other dough ingredients until a sticky dough forms.
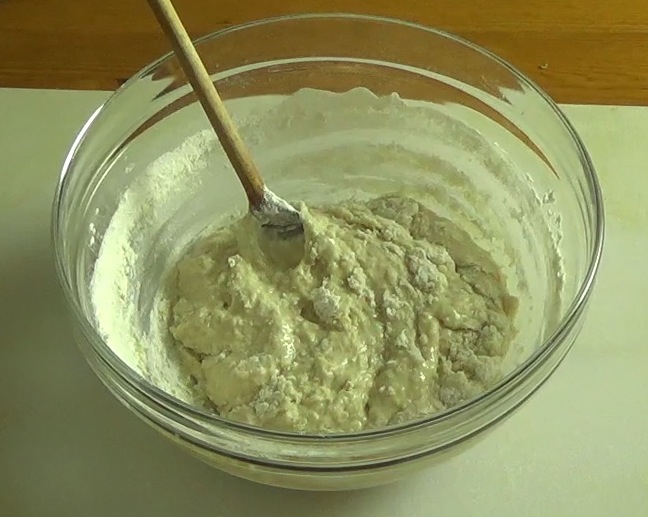
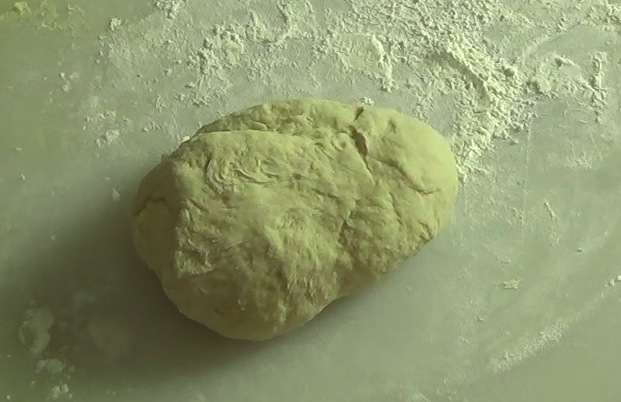
Turn dough out onto a kneading board and continue to work in flour until dough is smooth and only slightly tacky.
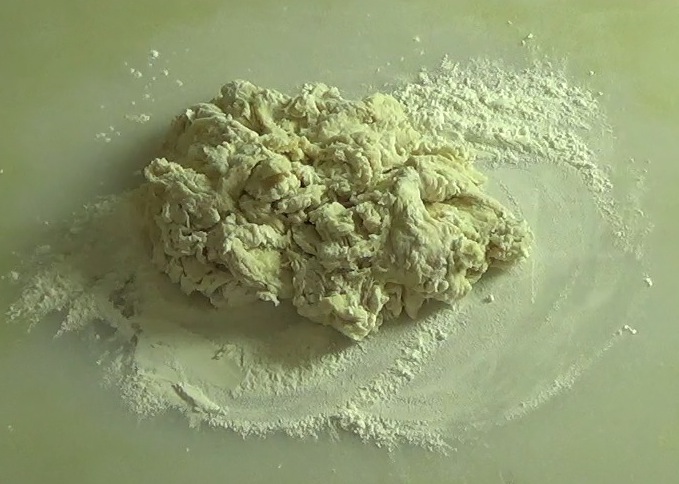
I probably kneaded for about 5 minutes to get it to this point.
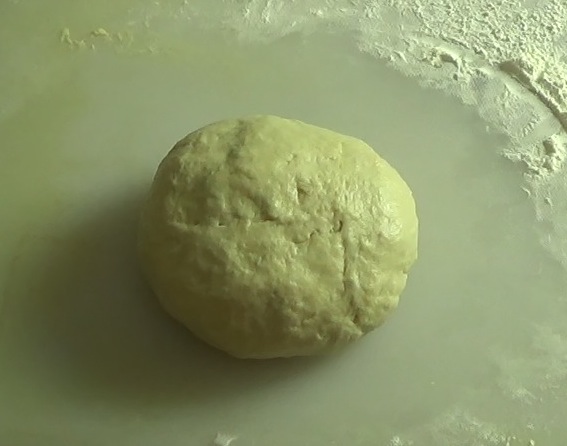
Then, let the dough rest for 10 minutes under an inverted bowl.
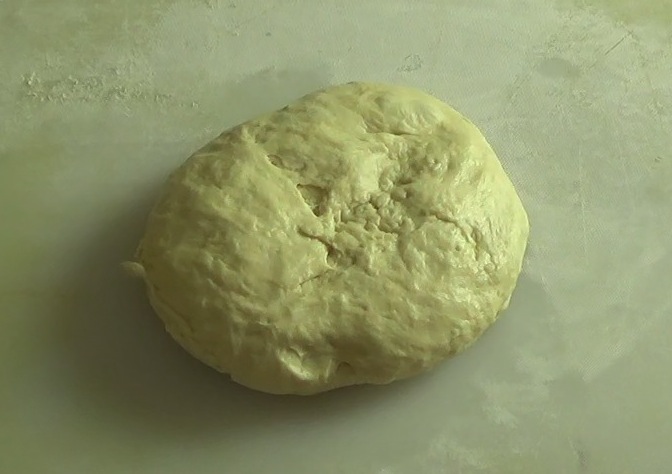
After the rest, work 1 Tbl refined coconut oil into the dough. At the beginning it seems like the oil won't integrate, but with enough kneading, you'll have a smooth, shiny, homogeneous ball of dough.
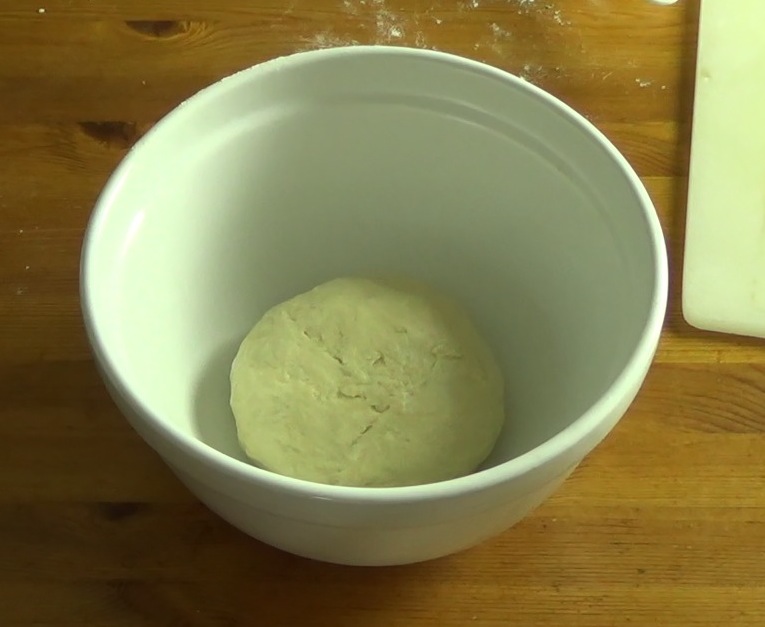
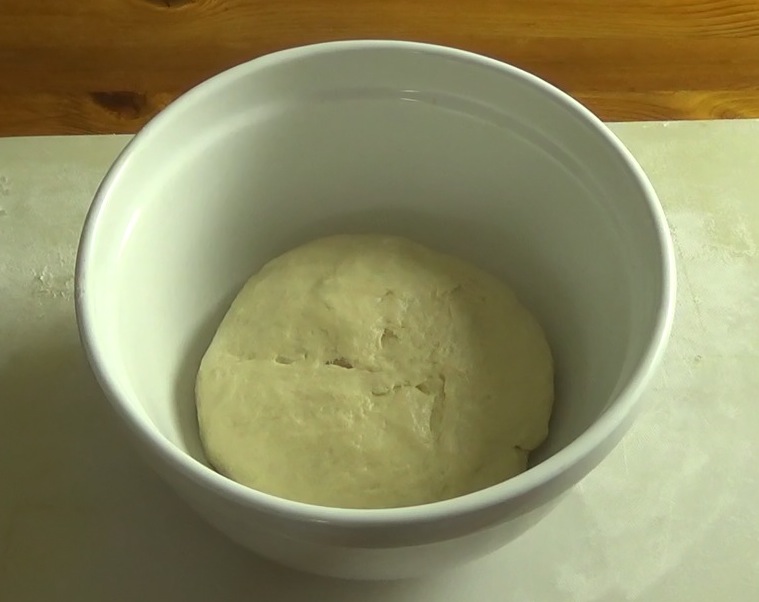
Transfer dough to a clean bowl and cover with plastic wrap. Place in a warm, draft-free place (I put it on the top rack of a cool oven along with a baking pan filled with hot water on the bottom rack.) Let dough rise until doubled in size, about 1 hour.
Before:
After:
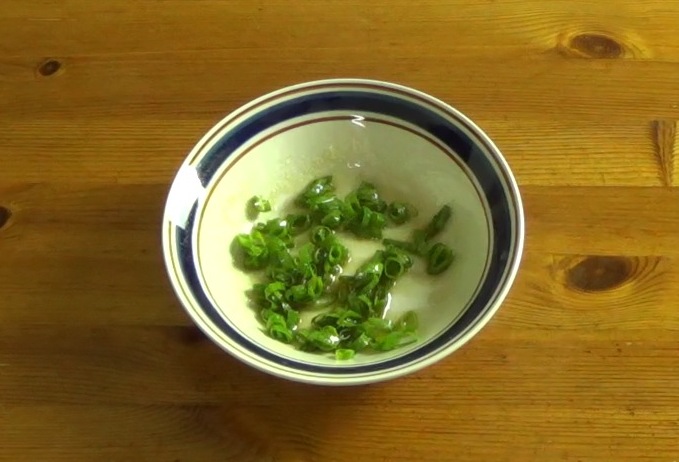
While dough is rising, mix filling ingredients together in a small bowl. (Do this at the beginning of the rise to give the green onion slices time to soften up in the sesame oil.)
Cover two baking pans in parchment paper.
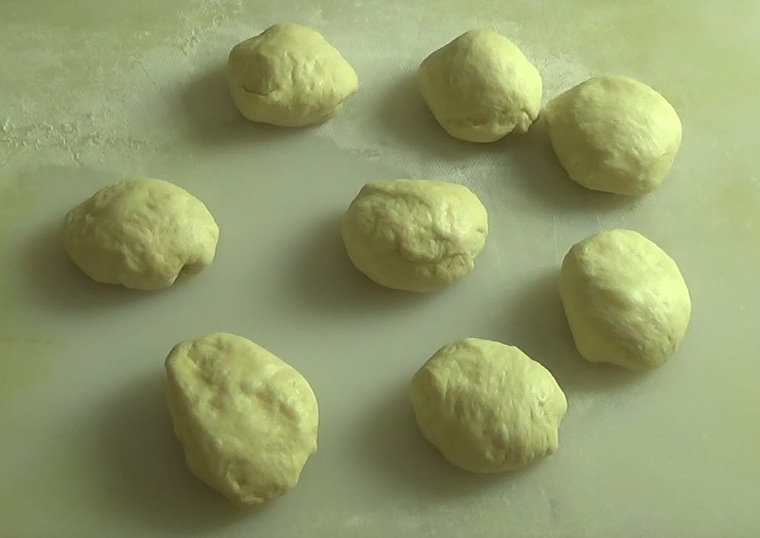
When the dough is done rising, turn it out onto the kneading board and divide it into 8 equal pieces. Form each piece into a ball shape.
Take the first ball and roll it out into a rough oval. (For once you don't need to roll it into a circle.)
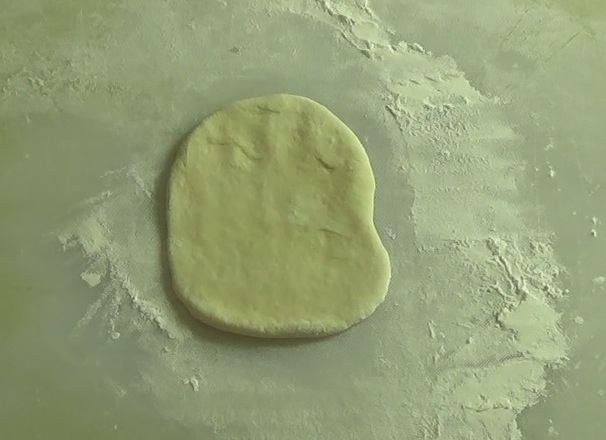
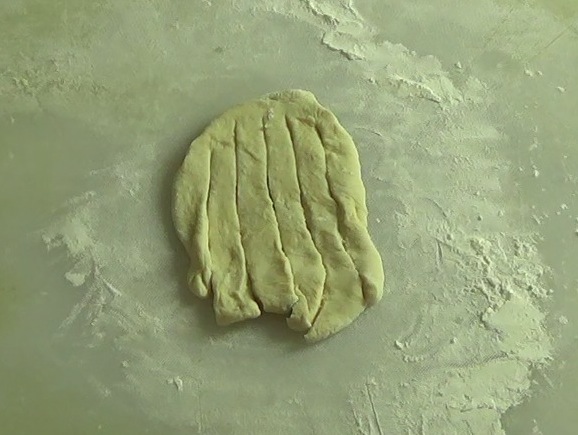
Using a small, sharp knife, slice vertically through the oval, starting about 1/2 inch from the top and slicing straight through the bottom so you end up with a sort of comb shape with 5-6 strips.
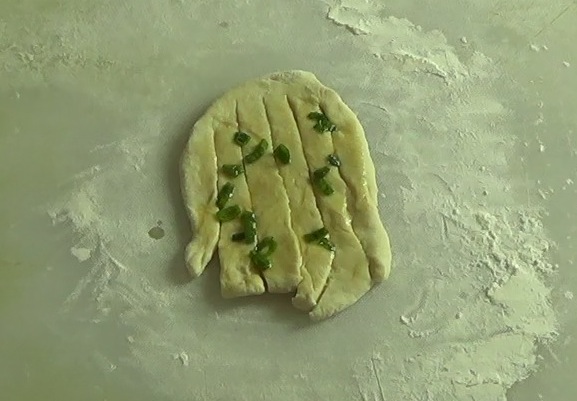
Spoon some filling onto the top surface of the dough, and move it around with the bottom of the spoon until the dough is well covered.
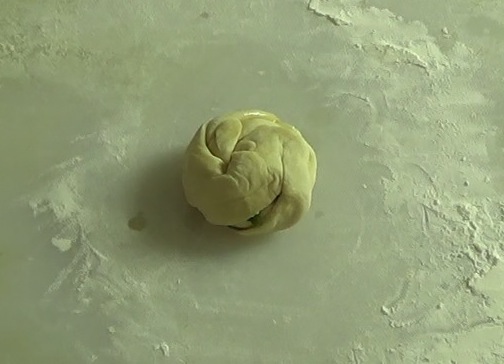
Gather the bottom pieces of dough in one hand and pick up the top with the other. Twist the bottom strips in one direction and the top in the other so that you end up with something that looks like a rope. Twist the rope into a bun shape and tuck the two ends of the rope under the bun. (I really recommend having a look at Joy's excellent video of this step so that it's absolutely clear.)
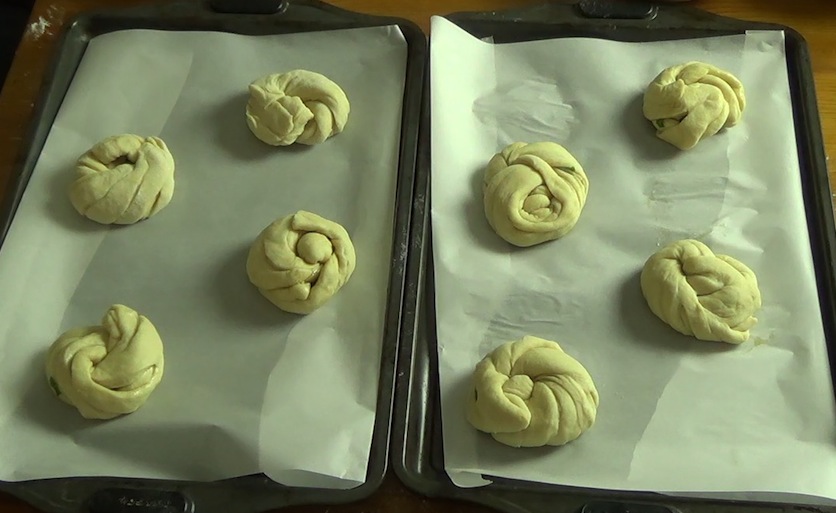
Place the buns on the parchment paper as you make them.
Cover the pans with tea towels and return them to the warm place for proofing, for anywhere from 45 minutes to an hour.
During the last 15 minutes, preheat the oven to 350°F.
Mix the maple syrup and water.
When the buns are noticeably plump and full, remove the tea towels and brush each bun liberally with the diluted maple syrup.

Bake 15-20 minutes until the strands on top are golden brown. These are thin and delicate—be careful not to overcook.
Transfer to a cooling rack and try to resist the temptation to dig in until they've cooled. I find these keep for a few days, especially if you store them in the fridge. Refrigerated buns respond nicely to 30 seconds in the microwave before devouring.

Want more like this? Please subscribe via the RSS Feed so you can read new posts on your favourite news reader.
Posted: Saturday, October 29, 2016
You might also like