


Previous in ToC: Corn Tortillas are Easy to Screw Up, but also Easy to Get Right (And I've Done Both)
Next in ToC: Nothing Beats Bagels Fresh from the Oven

Big Soft Pitas for Wraps
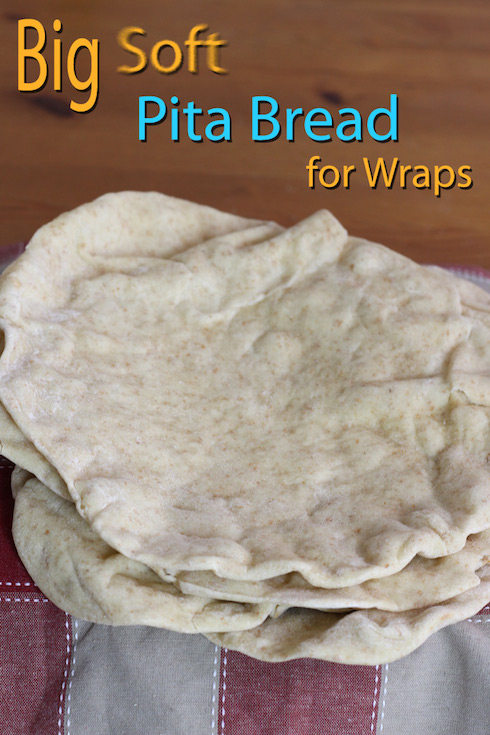
I have a recurring need for big, soft pita bread that I can use for wraps. We're talking twelve inches in diameter, thin enough that it can be wrapped into a tube, and strong enough to do so without falling apart. As usual, I turned to the internet for inspiration and then started experimenting. Some of the experiments went well, some of them ended up sliced into triangles, delivering dips to my mouth. Not exactly tragic, but not exactly what I was looking for either. I think I've landed on something usable, and the proof is in the hummus wrap that filled my lunchboxes this past week at work.
Turns out there are a few tricks being kicked around the internet for making strong pitas that are still light and pliable. One of the contributors to this discussion about perfect pitas suggests the most important thing is letting the pitas rest 20 minutes after rolling them but before putting them in the oven. This pita recipe from Turmeric and Spice says the same thing, and also recommends spritzing the tops with water just before putting them in the oven. Most recommend a hot oven and a cooking time of no more than three minutes. (Here's an example of some beautiful pitas cooked for three minutes.) You'll find yet another homemade pita recipe here.
Point is, there's enough variation out there that you'll probably be left scratching your head a bit. It took me a few tries before I landed on something that works for me. You may need to do the same. I adopted a few of the breadmaking techniques I found in The Laurel's Kitchen Bread Book by Laurel Robertson and others (best $1 library rummage sale purchase I ever made) and they have really helped with texture and consistency. Do you have other ideas? Please let me know what makes your pitas excellent.
Ingredients
Note: I use a spray bottle to spritz the dough with water just after putting it in the oven. You'll need one if you want to do the same.
1 1/4 cups lukewarm (100°F) water
1 tsp agave syrup
2 tsp yeast
2 Tbl olive oil
2 1/2 cups (287 g) all-purpose flour
1 cup (115 g) wholewheat flour
1 tsp salt
Directions
Pour 3/4 cup of the water into a small mixing bowl, leaving 1/2 cup in the measuring cup. Add the agave syrup to the measuring cup and mix well. Then, get a tsp of the yeast in one hand and the spoon in the other. While keeping the mixture in the cup moving with the spoon, slowly add the yeast. Repeat for the second tsp of yeast.
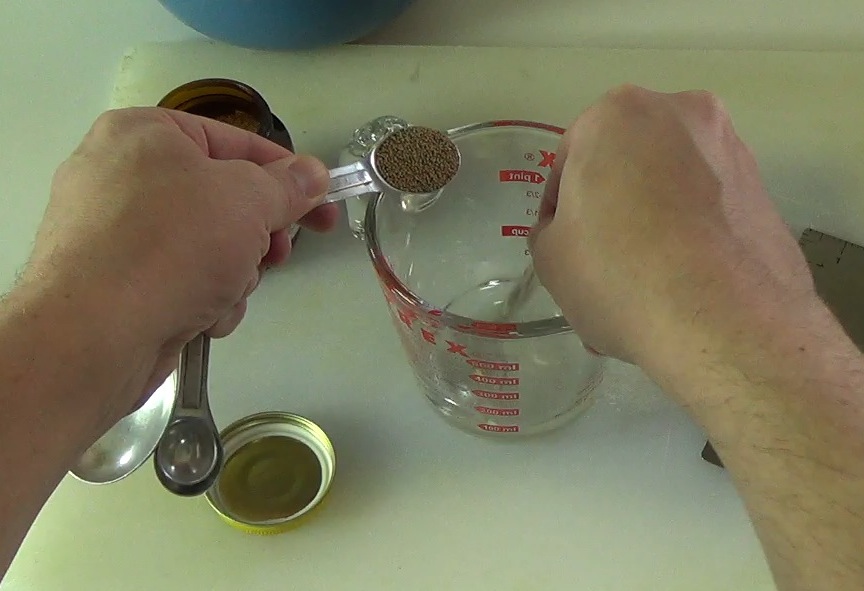
Let the yeast sit for 5 minutes or so, until the mixture becomes frothy.


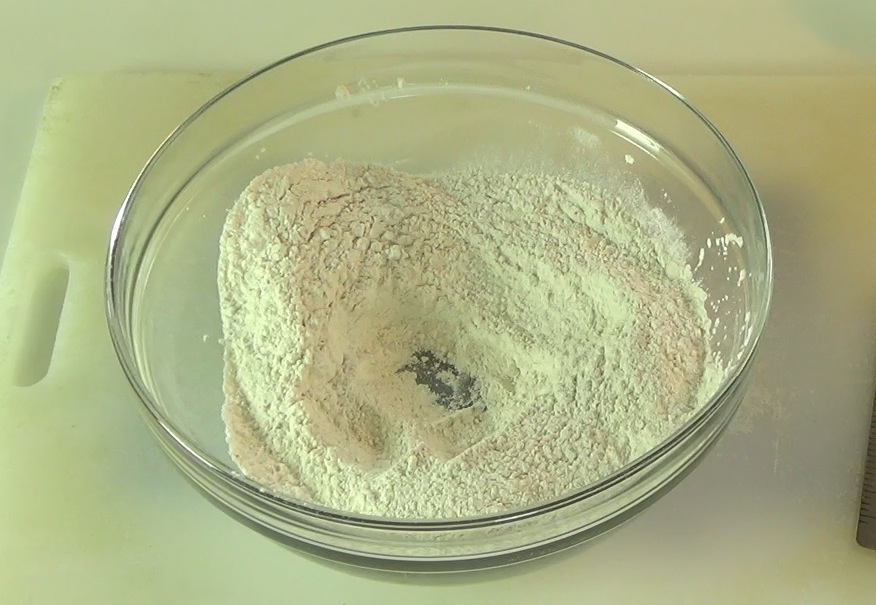
In the meantime, add the olive oil to the small mixing bowl with the remainder of the water. Mix the two flours with eachother in a large mixing bowl and mix in the salt.
When the yeast is proofed, add it to the small bowl with the other liquids.
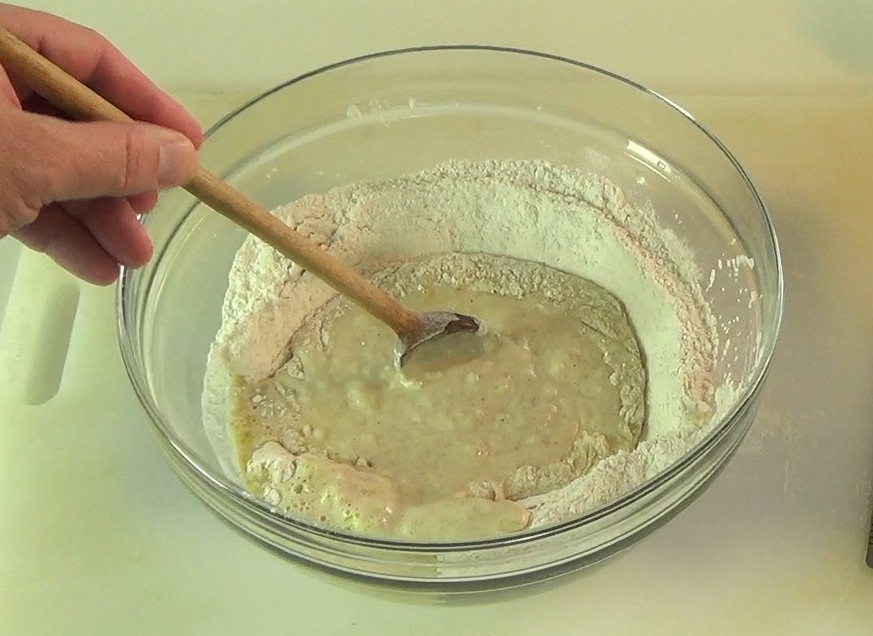
In the large mixing bowl, make a rough well in the center.
Pour the liquid into the well.
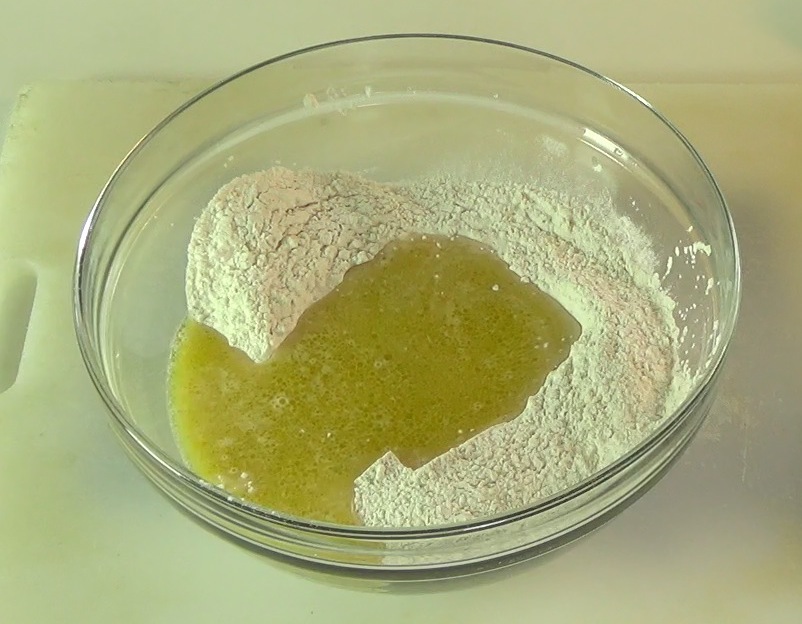
With a wooden spoon, stir the liquid in the center, slowly working outward to incorporate the flour into the mixture.
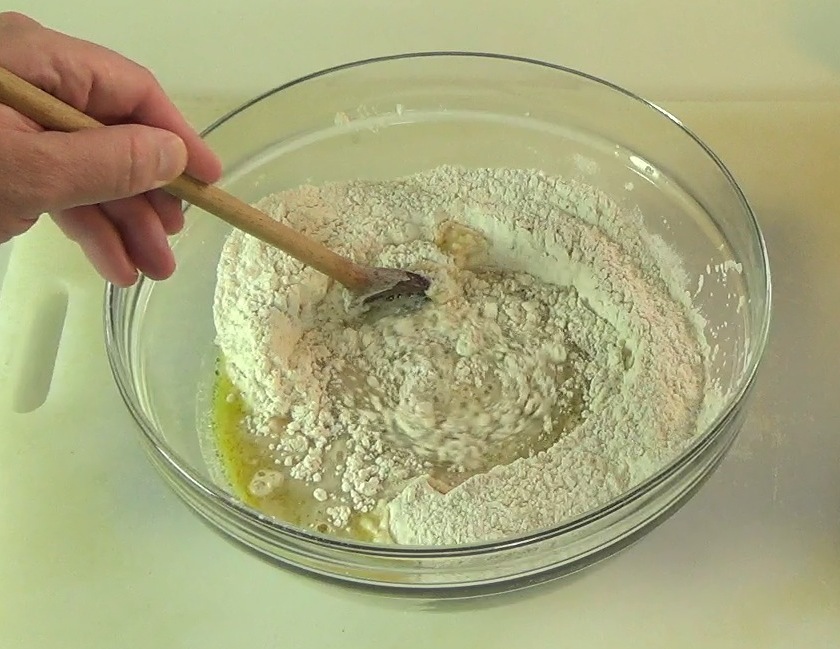
Eventually, the dough will get too thick to stir with the spoon. Switch to hand mixing.
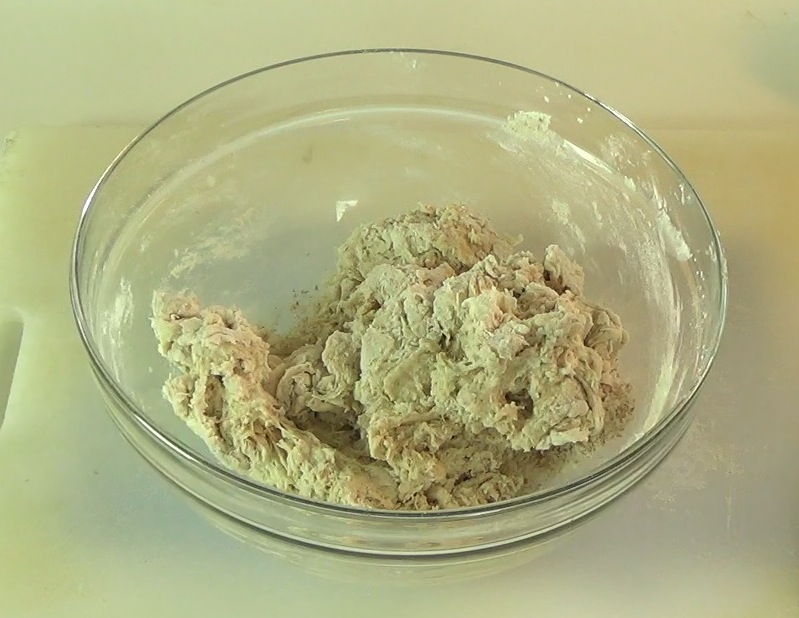
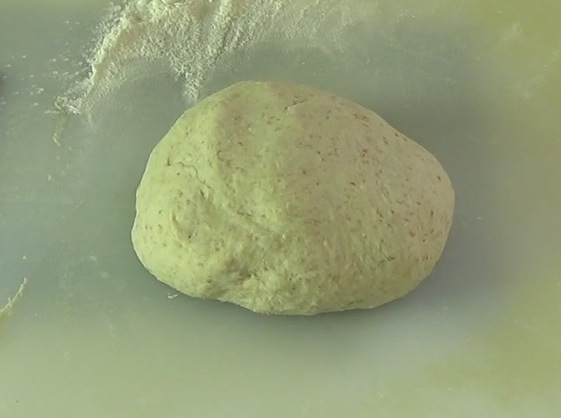
When all of the flour has been incorporated and the dough is more or less uniform, turn it out onto a kneading board.
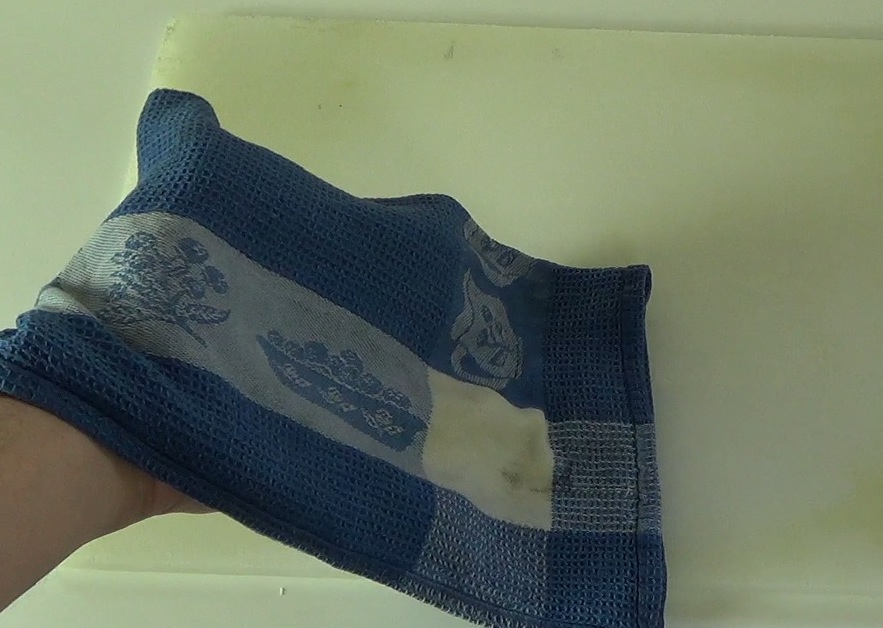
Kneading will be a lot more fun if you place a folded damp dishcloth under the board so that it doesn't slide around on the counter.
Also, you may want to consider kneading standing up so that it's easier to get your shoulders into it. It seems more comfortable to me this way.
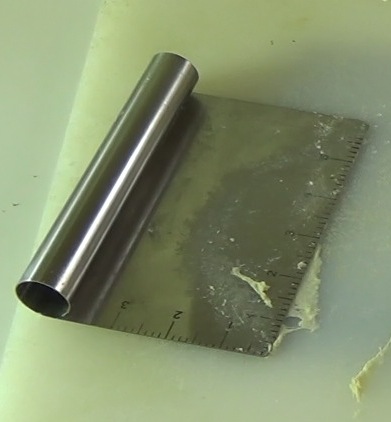
The trickiest part of kneading is the stickiness of the dough in the beginning. It's a bit of a toss-up whether it sticks more to your hand or the kneading board. A little extra flour can help, but try to resist adding a lot because too much flour makes the dough flat and heavy. I knead with one hand and keep the other one clean by using a bench knife.
With my kneading hand, I press down into the center of the dough, and with the other hand I use the bench knife to lift the dough off the kneading board.
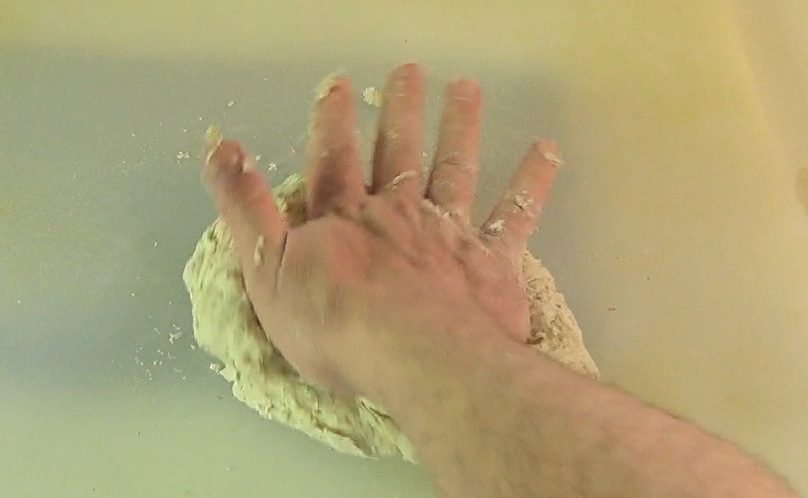
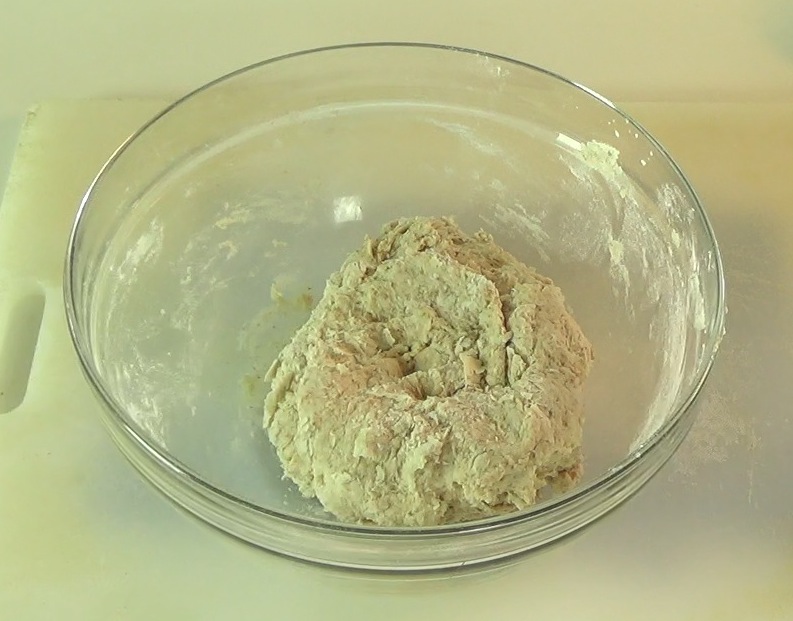
Instead of kneading for a set time, I count 300 presses. Eventually the dough will take on a new, springy texture, something like an earlobe, and it will lose its stickiness.
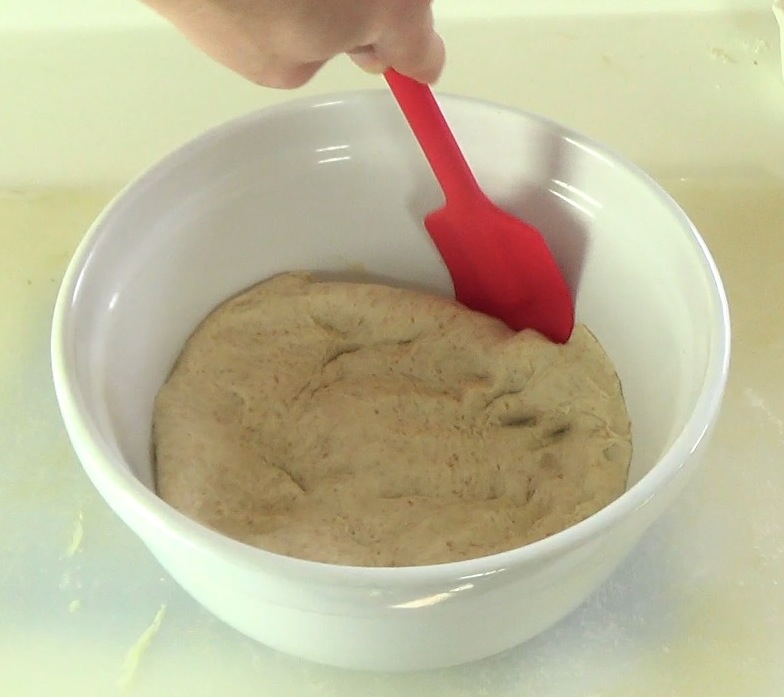
At this point, most recipes will suggest oiling up a bowl to hold the dough so it can rise. I'm not a fan. Oil definitely makes it easier to get the dough out of the bowl after the rise, but it changes the surface of the dough enough to make it harder to work with later. So I'm going to recommend putting the dough in an unoiled bowl and covering it with plastic wrap.
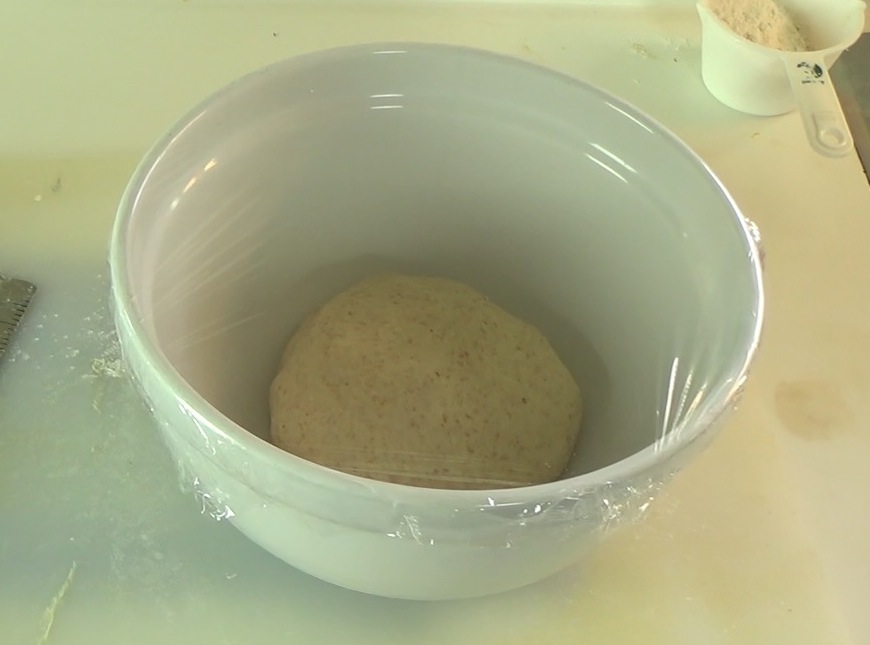
The next step is letting the dough rise in a warm (around 80 °F) quiet place relatively free of drafts. I've heard lots of creative ideas about how to get this environment consistently. What I do is put a 9X13 pan of hot water on the lower rack of a cool oven and put the bowl on the upper rack. I've checked it with a thermometer and it basically gets me to the goal for most of the duration of the rise.
Let the dough rise for 1.5 to 2 hours.

Most recipes want you to "punch down" the dough after it's done rising—rapidly expelling accumulated gas. I get rid of the gas too, but I do it with a gentle pressing motion instead of a fast punch.

Because I didn't oil the bowl, I have to use a rubber spatula to unstick it from the sides, and then gently lift it out of the bottom. Not really a big deal, and like I say, the dough is easier to work with without a layer of oil.
Get the dough back on the kneading board and return it to a round loaf shape by bringing your hands together under the loaf, tucking the outside edges into the bottom center. Repeat a couple of times.

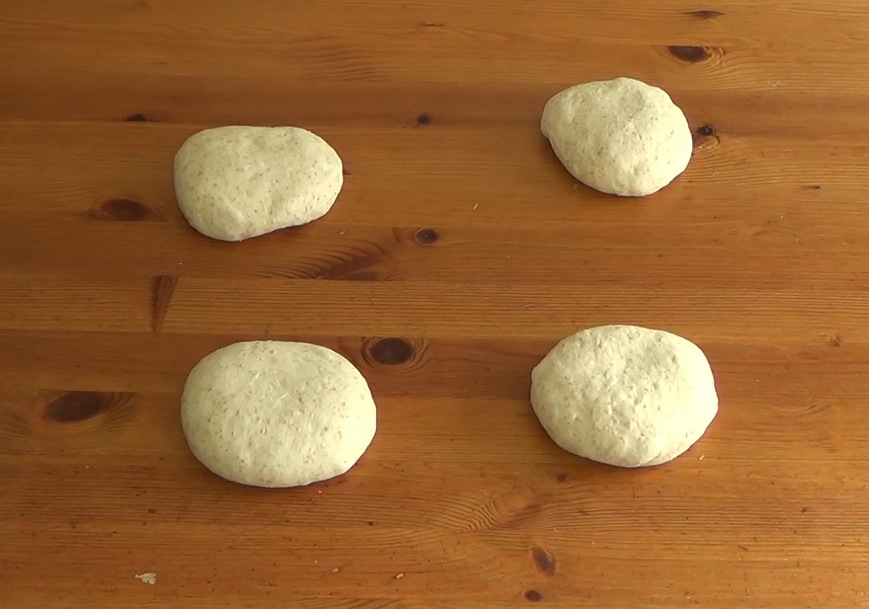
Using the bench knife, divide the dough into four roughly equal pieces, and repeat the rounding exercise so that you have four mini round loaves.

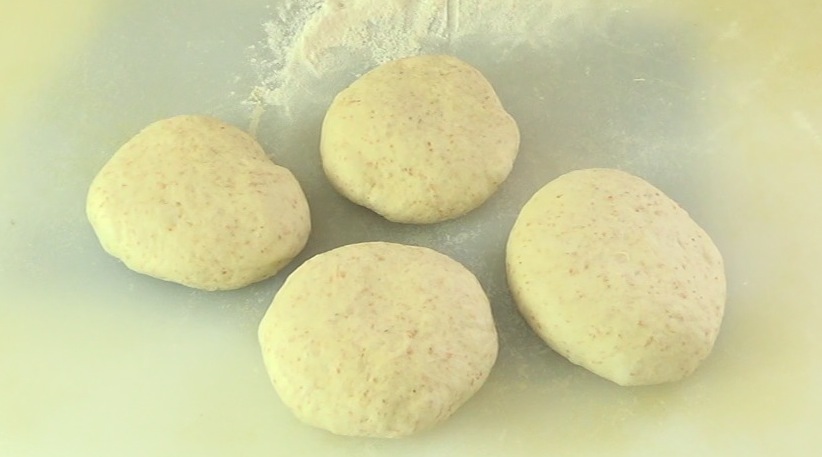
Let the dough rest for 20 minutes on a clean surface, covered by moist tea towels.
Place one or two baking sheets on the bottom rack of the oven and preheat to 500 °F.
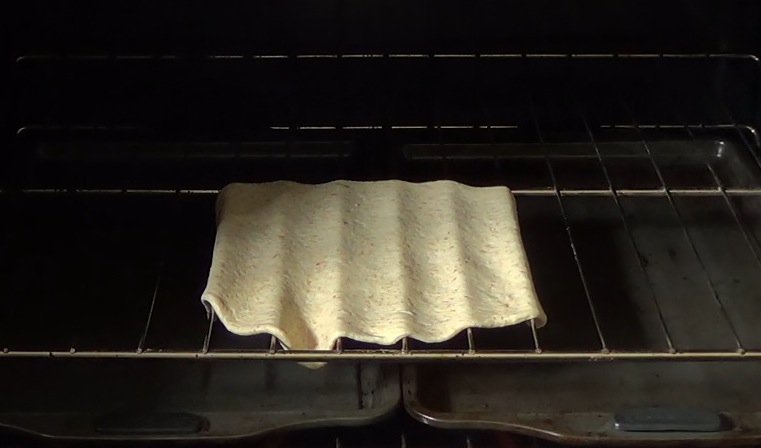
After the 20 minute rest, lightly flour the kneading board and roll out the first piece of dough as evenly as possible to a diameter of about 12" and a thickness of about 1/8".
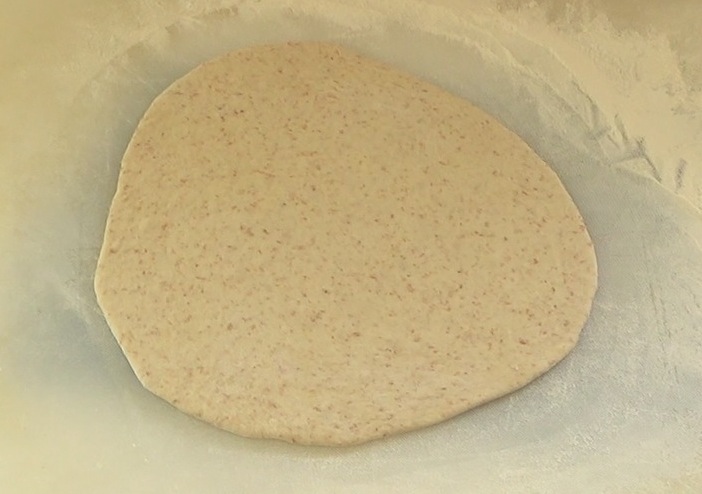
Place the rolled dough back under the moist tea towel and repeat for the other three pieces. Keep track of the order that you rolled them out because you want to cook them in the same order. Let the first piece rest for 15-20 minutes. When the time is up, gently transfer the first piece directly onto the upper rack of the oven. (The baking sheets on the lower rack are there just to catch any stray flour to keep the bottom of the oven clean.) Spritz the top surface of the pita with a spray bottle and quickly close the oven door.
After a couple of minutes (no more than 3), you should see the pita puff up.
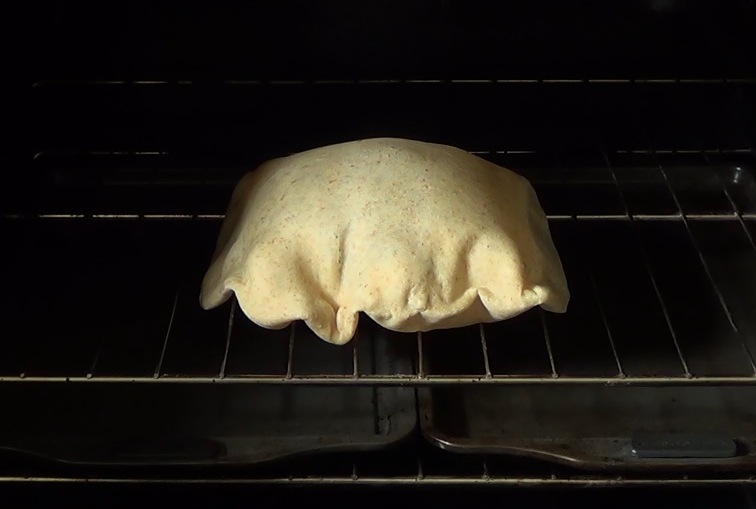
Remove it with a spatula or some tongs (be careful—those trapped gases are hot) and place it on a plate under a tea towel to cool. It may seem a little stiff when it first comes out of the oven, but it will soften as it rests. Repeat the process with the other three, stacking them on the plate under the tea towel when cooked.
Want more like this? Please subscribe via the RSS Feed so you can read new posts on your favourite news reader.
Posted: Friday, April 17, 2015